Buying a secondhand dirt bike can be a hit or miss. You can score the greatest dirt bike your money can buy or end up with a bike that brings more headaches than excitement. But worry not because today, I’ll walk you through what to look for when buying a used dirt bike. I’ve done it before and am excited to share the tips I used myself to get a good bang for the buck, not a lemon.
When buying a used dirt bike, a thorough inspection is vital. You have to check every nook – from the frame to the internal components and riding hours.
Join me as we go through the process of inspecting a used dirt bike. We’ll cover all the essential things to look for and discuss recommended riding hours. With this knowledge, you’ll know when to make your move or keep searching for the perfect ride.
How do you inspect a dirt bike before buying it?
When buying a used dirt bike, inspection is mandatory to know its history, condition, and if it’s worth the price. But how do you check it properly? What parts should you focus on?
Here’s what to look out for.
1. Check the bike frame condition
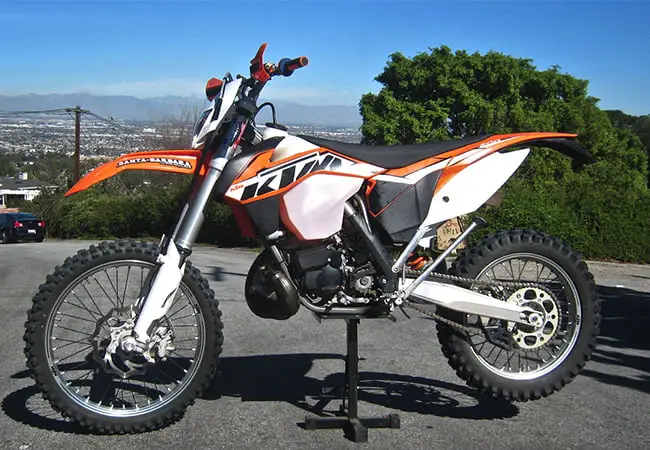
The first and easiest thing you can inspect on a used dirt bike is the bike’s overall condition, particularly the frame. It’s the backbone of any dirt bike, so giving it a thorough once-over is vital.
Start by checking for cracks, welds, or impact signs. Cracks or poor repairs can compromise the bike’s integrity and lead to more problems.
If you spot welds, it doesn’t necessarily indicate a problem, only that repairs were done on the bike. Ensure they’re well done and don’t affect the frame’s integrity.
Also, watch out for bends or dents that impact handling and stability. And if you see faded or sun-damaged plastics on the bike’s frame, it can be a sign that the bike has been around for years.
2. Inspect the suspension
When assessing a dirt bike’s handling and performance, one crucial area to inspect is the suspension, the one responsible for absorbing impacts and providing stability for a smooth ride.
Front Suspension
Check the bike’s fork seals for oil leaks that indicate poor maintenance. If the bike’s seals are damaged, repairing or replacing them may cost you more.
Also, examine the fork stanchions, those shiny chrome tubes connecting the frame and tires, for scratches, pitting, or rust. While minor signs won’t affect performance, excessive rust may impact the stanchions’ functionality.
Rear Suspension
When inspecting the rear suspension, check the rear shock for oil leaks, visible damage, or signs of bottoming out. A worn-out shock can turn your ride into a trampoline experience—no fun!
Also, examine the swing arm for cracks, dents, or signs of heavy impact and the linkage for smooth movement and signs of wear.
Suspension test
To see how well the bike’s suspension is doing, bounce the bike by pushing it down on the front and rear areas. The suspension should provide a controlled rebound without excessive bounce or softness.
Move the swing arm through its full range of motion and ensure it moves smoothly without binding, weird noises, or uneven resistance. Lastly, check for excessive play or stiffness in the linkage, which could indicate worn bearings.
3. Check the tires
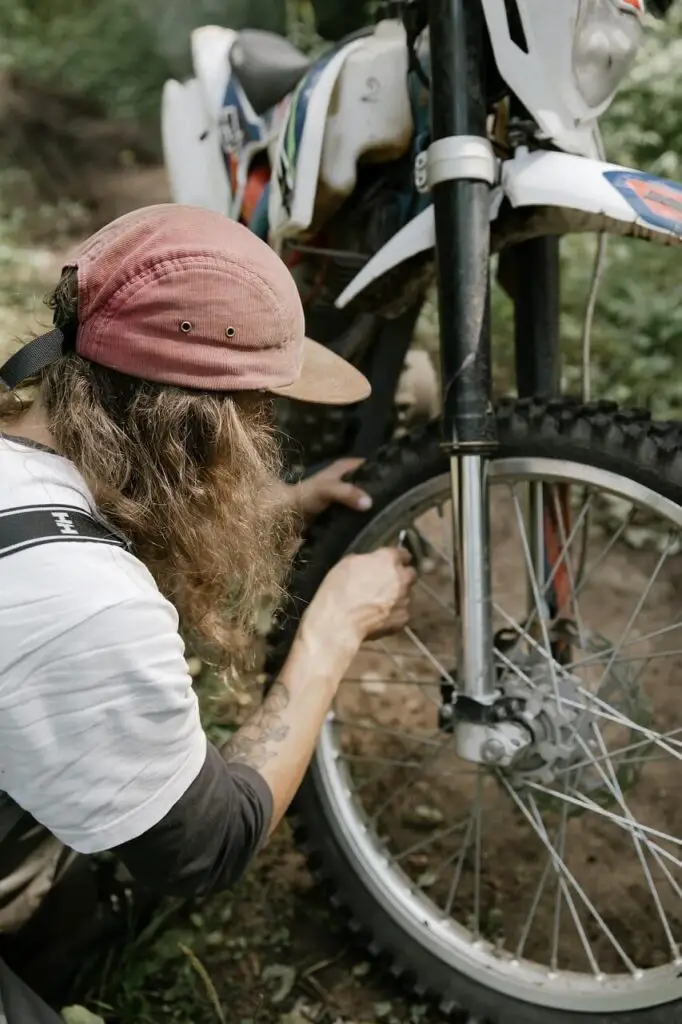
To inspect secondhand dirt bike tires, start by checking the tread depth. The old “penny test” works well. Just insert the penny upside down into the tread groove. The bike needs new tires if the tread is almost level with Lincoln’s head.
Pay close attention to visible cracks, cuts, or bulges on the tire’s sidewalls or tread. These can compromise structural integrity and increase blowout risk on trails or tracks.
Also, examine the tire’s tread for uneven wear patterns. Excessive wear in specific areas may indicate alignment, suspension, or tire pressure issues.
4. Look for fluid leaks
If fluids leak on a bike, it’s an obvious sign that something is amiss with its engine, cooling, or performance. Here’s how to identify and check for fluid leaks:
Engine Oil
- Start by checking the oil level using a dipstick or sight glass, as instructed in the manual.
- Check the oil’s color and consistency; clean and transparent oil is ideal.
- Look for metal particles or debris in the oil, which could indicate engine wear.
Engine Coolant
- Check the coolant level in the overflow tank or radiator; it should be within the recommended range.
- Examine the coolant’s color; it should be vibrant and free from oil or rust contamination.
- Look for coolant leakage around hoses, connections, or the water pump.
Brake and Clutch Fluids
- Begin by inspecting the fluid levels in the reservoirs, ensuring they’re within the designated range.
- Observe the fluid’s color; it should be clear or amber.
- Check for leaks around the brake calipers, master cylinders, or clutch lever assembly.
5. Inspect the radiator
When we hit the trails, our bikes encounter dirt, mud, rocks, and debris, which takes a toll on the radiator. So make sure to inspect the radiator when buying a used dirt bike, and look out for these signs:
- Frequent overheating issues
- Coolant leaks
- Engine heats up quicker than usual
- Bent or damaged fins
- Corrosion or rust
To check your radiator’s condition:
- Start by inspecting it visually.
- Check for dents, bent fins, or any signs of impact.
- Watch out for leaks—look for coolant stains, crusty residue, or that sweet smell that indicates a leak.
- Check the radiator cap. It should be snug and intact, with no leakage around the seal.
- Make sure the radiator fins aren’t bent or damaged.
6. Inspect the air filter
Checking your air filter is a breeze, and you don’t need to be a mechanic to do it. First, find the air filter in a box or cage near the engine or under the seat. Remove the air filter cover, gently remove the filter, and give it a thorough once-over.
Here’s how to spot a dirty air filter:
- Visible dirt and debris
- Tears or holes in the filter
- Oil residue
- Restricted airflow resulting in decreased power, poor throttle response, and reduced fuel efficiency
7. Examine the brakes, chains, and sprockets

To ensure a stress-free and smooth ride on the trails, ensure the dirt bike’s brakes, chains, and sprockets are in top-of-the-line condition. Here’s how to inspect them:
Brakes
- Examine the brake pads or shoes for wear. If they’re too thin or metal shows, it’s time for a replacement.
- Look for grooves or excessive wear on brake discs or drums.
- Check for leaks or brake fluid around the calipers or master cylinders.
- Ensure the brake levers or pedals provide firm resistance and return smoothly.
Chains
- Test the chain tension by pressing on the middle. It should have a slight slack.
- Check for rust, kinks, or tight spots indicating a worn-out chain.
- Look for missing or damaged O-rings or X-rings on O-ring or X-ring chains.
- Ensure the chain is adequately lubricated and not overly dry or sticky.
Sprockets
- Inspect the sprocket teeth for wear, hooking, or sharpening.
- Check for missing, broken, or bent teeth.
- Measure the sprocket thickness; significant thinning calls for replacement.
- Look for excessive play or wobbling when rotating the wheel.
8. Take note of unusual noises, vibrations, or knocking
When the engine’s purring, keep your ears open for strange noises that could spell trouble. Here’s what you should be listening for:
- Knocking or rattling sounds – Could hint at engine woes like worn-out bearings, piston slaps, or loose bits. They might even point to exhaust or clutch problems.
- Grinding or scraping sounds – These sneaky noises often reveal transmission or drivetrain issues, like worn-out gears, a damaged chain, or a wonky sprocket.
- Whining or whistling sounds – Pay attention to these high-pitched signals that may suggest a belt or pulley on the brink of retirement. It’s all about belt-driven components.
- Hissing or hissing sounds – Could be a red flag for an exhaust leak, a pesky gasket gone awry, or trouble with the intake system.
To check if your potential dirt bike emits these peculiar noises, start ‘er up, let it idle, and keep your ears open. Rev the engine a few times while stationary and on a quick ride to see if anything odd pops up. Note any abnormal sounds that make you cringe.
9. Test the clutch and throttle response
If you want a bike that delivers satisfying performance, make sure to inspect the clutch and throttle!
Let’s start with the clutch. Here are some signs it needs attention:
- Slipping – when the engine revs but the bike doesn’t accelerate as expected, or the clutch engages erratically
- Difficulty shifting – trouble shifting gears smoothly, especially during quick acceleration or deceleration
- Inconsistent engagement – if the clutch engages at different points when you release the lever
- Dragging – when the clutch doesn’t fully disengage, causing issues when stopping or shifting gears
Now, let’s shift gears to the throttle. Watch out for these signs:
- Excessive play – a loose or overly gaping throttle grip that takes a while to engage
- Delayed response – when you twist the throttle but the engine responds slowly
- Sticking – a throttle that doesn’t smoothly snap back to its resting position, leading to unpredictable acceleration
To check the clutch and throttle response, follow these steps:
Clutch Test
- Start the engine and engage the clutch lever.
- Gradually release the clutch lever and observe the smooth engagement.
- Look for signs of slippage, inconsistent engagement, or shifting difficulties.
Throttle Test
- With the engine running, twist the throttle and note how quickly the engine responds.
- Check for any delays or sticking in the throttle’s movement.
- Make sure the throttle snaps back smoothly to its resting position.
10. Shift through all gears to inspect transmission
Transmission repairs can burn a hole in your wallet, so if you see these signs on a used dirt bike you’re eyeing, move on to another seller:
- Unexpected disengagement or power loss during gear shifts
- Rough, clunky shifts that make you cringe
- Weird grinding or whining noises while shifting gears
To check shifting smoothness, follow these steps:
- Warm up that engine and let it purr.
- Ensure the bike is in neutral before starting.
- Gradually increase the throttle while shifting through all gears, from first to highest.
- Pay close attention to how smoothly the gears engage and how the bike responds to each shift. A healthy transmission means seamless gear changes without grinding or resistance.
- Keep an ear out for instances where the bike gets stuck between gears or slips into false neutral (it feels neutral but is in gear).
- Watch that acceleration in each gear. Sudden power loss or revving without a speed increase could mean gear slippage.
11. Check the carburetor
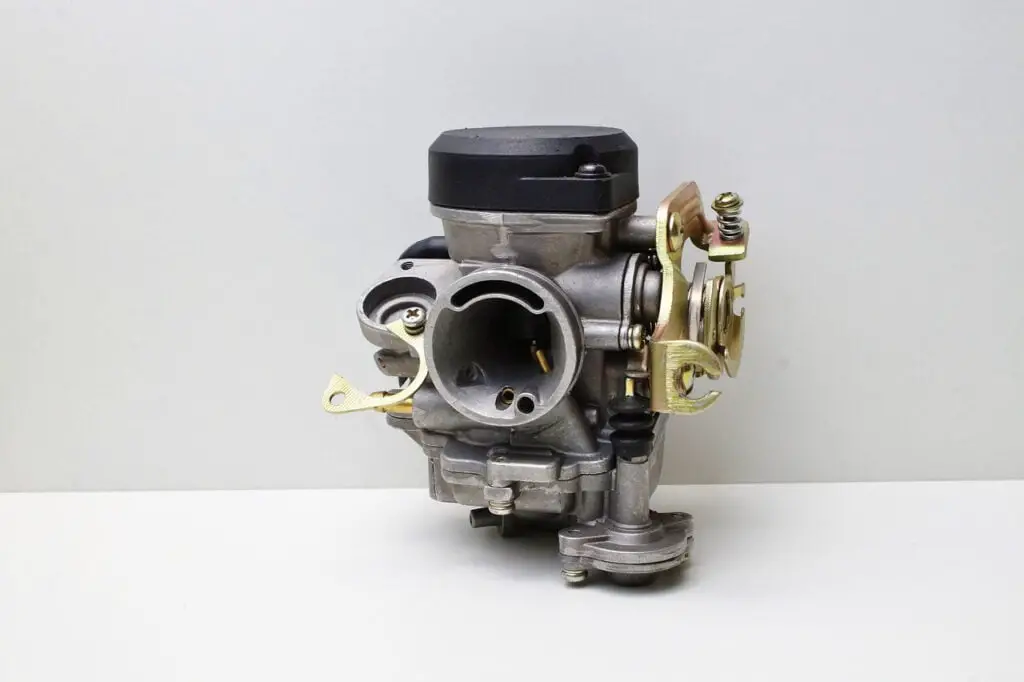
How do you know if the dirt bike carburetor needs love? Here’s the lowdown:
- Give that carburetor a look. Any signs of dirt, grime, or corrosion on the outside?
- Keep an eye out for fuel leakage. If you see it around the carburetor, you should think twice.
- Twist that throttle and watch the engine respond. Smooth acceleration with no hesitation or stalling is what we’re after.
- Pay attention to the idle. It should be steady and consistent. Rough idling or engine dying at idle? Carburetor issues might be lurking.
- Black smoke from the exhaust or a fouled spark plug? That could mean an overly rich fuel mixture due to carburetor problems.
- Check those adjustment screws. Intact and undamaged is the way to go.
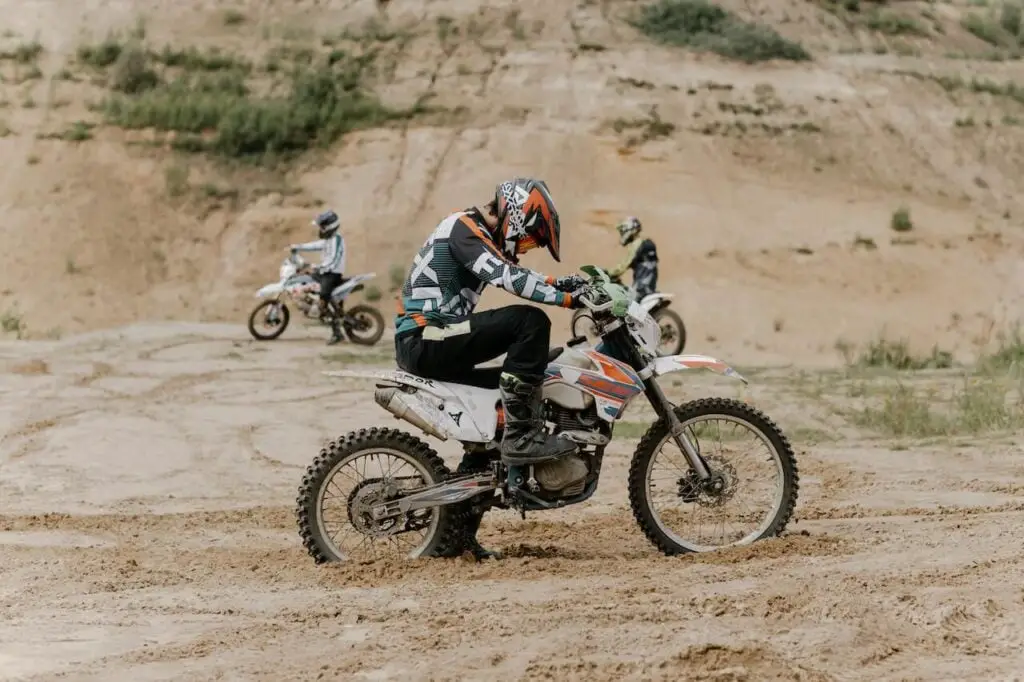
12. Check the total riding hours of the dirt bike
When tracking our dirt bikes’ life and maintenance, forget miles—hours are our currency!
Unlike road bikes, our dirt bikes face unpredictable challenges that take a toll on the engine. Counting hours gives us a more accurate picture of engine wear and tear under these diverse conditions. And when we count riding hours, we consider idle time too.
If you’re used to thinking in miles, just multiply the hours on your dirt bike’s hour meter by 60 to get the estimated mileage.
For example, if your meter shows 100 hours, that means you’ve covered around 6,000 miles (100 x 60 = 6,000).
How many hours on a dirt bike is bad?
Around 100 hours on the meter is considered high mileage for casual riders. But if the bike’s been treated right, had regular TLC, and wasn’t pushed to the extreme, it can still be your trusty trail buddy.
Once that meter hits 300 hours, it’s a different story. At this point, the bike’s been used and abused or needs some serious part swaps. Expect more maintenance and repairs.
What is bad mileage for a dirt bike?
If you see a dirt bike that has hit 250-350 riding hours, it has already covered 21,000 miles, which means it’s well-worn. When you buy a bike with these riding hours, expect higher repair costs, especially for the engine, suspension, and drivetrain.
How many hours on a dirt bike is good?
We average around 75 to 100 hours of riding time per year. So, when you’re scoping out a used dirt bike, and it’s still under a hundred hours, you can bet it’s a terrific score.
But don’t write off bikes in the 100 to 150-hour range yet. They might need extra TLC and repairs, but they can be a solid investment if you’re okay doing some mechanic work.
Wrapping up
If you’re still confused about inspecting a used dirt bike, don’t worry – it’s normal, especially for beginners or those with limited mechanical know-how. Keep returning to this post until it all clicks, and you feel confident.
Another good tip is to use any non-crucial issues as negotiation points to haggle with the seller. By “non-crucial” I mean cosmetic or easily fixed problems. If the engine is rattling during your inspection, that’s definitely a red flag, not worth negotiating over (unless you have deep pockets for an engine rebuild).
Remember, knowledge is the key to finding the right secondhand dirt bike. Research, inspect thoroughly, and follow my tips. Soon enough, you’ll be cruising home with a big smile, rocking your new secondhand dirt bike!