Ah, it is Saturday morning and the weather is perfect for dirt biking.
I open the garage, excited about the upcoming ride, when a strong smell of gas wipes the smile off my face as I approach my bike.
First thing I check is the gas tank (which I filled the day before) – it’s empty!
Darn! Why is my dirt bike leaking gas?
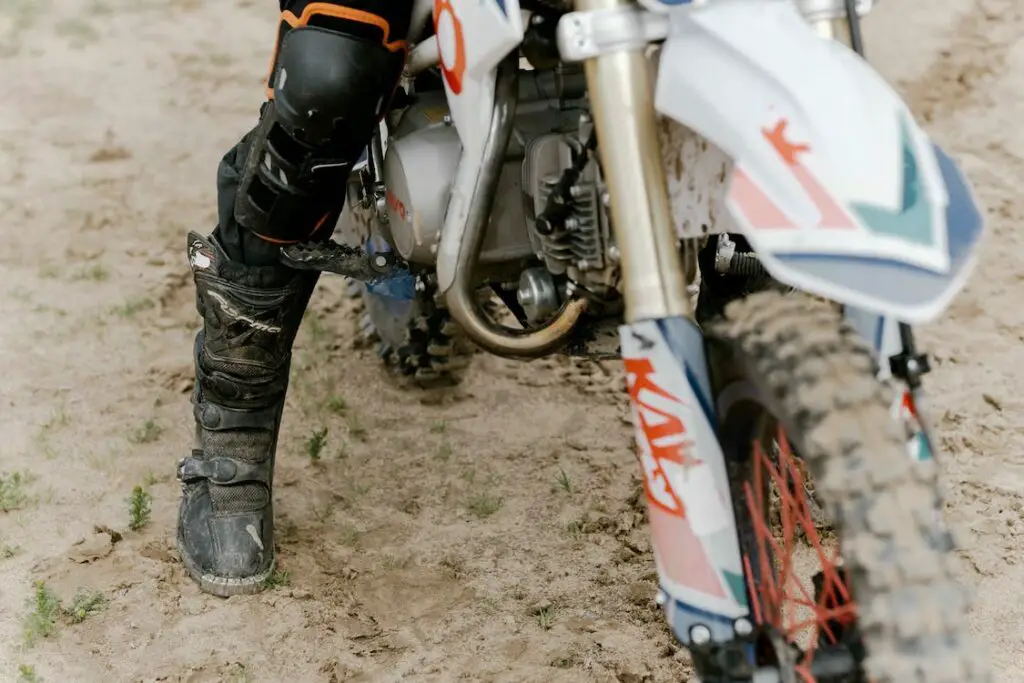
A gas leak in a dirt bike is usually due to loose fuel line connection, physically damaged fuel tank, clogged fuel filter, worn fuel petcock or faulty carburetor. Quick diagnosis and repair is necessary to avoid potential dangers and further damage to the engine.
Common Causes of Dirt Bike Gas Leaks
There could be several reasons why your dirt bike is leaking gas, some easier fixed than others.
Here are a few common causes and their fixes (we will cover how to fix each one later in the article):
- Loose fuel line connection: If the fuel line is not connected properly, it can cause a leak. Check if the connections are tight and if there are any cracks or leaks in the fuel line.
- Worn out fuel petcock: The fuel petcock controls the flow of fuel from the tank to the carburetor. If the petcock is worn out, it can cause gas to leak. Replace the fuel petcock if you suspect it’s the cause.
- Clogged fuel filter: If the fuel filter is clogged, it can cause a restriction in the fuel flow and result in a leak. Replace the fuel filter if you suspect it’s the cause.
- Damaged fuel tank: If the fuel tank is damaged, it can cause fuel to leak out. Check for cracks, dents, or holes in the tank that could be causing the leak.
- Faulty carburetor: If the carburetor is not functioning properly, it can cause fuel to drip. Check for a clogged or damaged carburetor and have it repaired or replaced if necessary.
It’s important to diagnose and fix the issue as soon as possible, as a gas leak can be dangerous and can also cause damage to your engine if it runs too lean.
I recommend consulting a professional mechanic or the manufacturer if you’re unsure about how to fix the issue.
However, if you want to have a dig at it yourself, here are a few tips (some from my experience, some from the dirt biking community).
How to Diagnose and Fix a Leaky Fuel Line
A Leaky fuel line is probably the easiest to fix, so you’re (relatively) lucky if you find that this is the issue.
Here are the steps:
- Locate the leak: The first step is to locate the source of the leak. You can do this by visually inspecting the fuel line and the connections. If you’re having trouble finding the source of the leak, try running the engine and looking for any drips or puddles of fuel. I suggest wiping your fuel line with a cloth before testing to make spotting the leak easier. In my experience fuel line leaks are usually at the loose connection points, rather than a result of physically damaged hose.
- Check the connections: Once you’ve located the leak, check the connections to make sure they are tight and secure. If a connection is loose, tighten it with a wrench or pliers.
- Replace any damaged parts: If the connections are tight and the leak is still present, check the fuel line for cracks, holes, or other signs of damage. If the fuel line is damaged, you’ll need to replace it.
- Test for leaks: After making any repairs or replacements, test the fuel system for leaks by starting the engine and checking for any drips or puddles of fuel.
How to Diagnose and Fix a Worn Fuel Petcock
If it isn’t the fuel line itself, chances are the fuel petcock is worn out.
Here’s how to check:
- Inspect the fuel petcock: Visually inspect the fuel petcock for any signs of wear or damage. A worn out fuel petcock can cause fuel to leak or not flow properly to the engine.
- Remove the fuel petcock: To remove the fuel petcock, you’ll need to disconnect the fuel lines and remove the fuel petcock from its housing (check out the video tutorial below on how to remove it properly).
- Replace the fuel petcock: If the fuel petcock is worn out or damaged, you’ll need to replace it. Make sure to purchase a fuel petcock that is compatible with your dirt bike. I always recommend going for quality branded parts because they simply last longer and the higher price is justified with longer use.
- Reinstall the fuel petcock: After replacing the fuel petcock, reinstall it in its housing and reconnect the fuel lines.
- Test for proper fuel flow: After reinstalling the fuel petcock, check that there is proper fuel flow by starting the engine and checking for any signs of poor performance (such as sluggish acceleration or engine stopping on idle).
How to Diagnose and Fix a Clogged Fuel Filter
Moving on to the next possible cause – a clogged fuel filter.
Here’s to check if it is the culprit:
- Inspect the fuel filter: Visually check the fuel filter for any signs of debris or clogging. If the fuel filter is dirty or clogged, it will restrict the flow of fuel to the engine, causing poor performance and other issues.
- Remove the fuel filter: To remove the fuel filter, you’ll need to disconnect the fuel lines and remove the fuel filter from its housing (see the video below for quick instructions).
- Clean the fuel filter: Clean the fuel filter using a fuel filter cleaning solution or by blowing it out with compressed air. If the fuel filter is severely clogged or damaged, you’ll need to replace it. These guys are not too expensive, so in many cases it is easier just to replace it.
- Reinstall the fuel filter: After cleaning or replacing the fuel filter, reinstall it in its housing and connect it to the fuel lines again.
- Test for proper fuel flow: After putting the fuel filter back in its place, start your bike to see if the fuel is flowing how it should. If not, you will have trouble starting your bike and once running it will be sluggish on the throttle.
How to Diagnose and Fix a Damaged Fuel Tank
OK, now we’re getting into the more niggly fixes.
Here’s how to check if your fuel tank is causing havoc:
- Inspect the fuel tank: Inspect the outside of the fuel tank for any cracks, dents, holes, or other signs of damage. If you’re having trouble locating the damage, try running the engine and looking for any fuel leaks. It is quite rare to have an obvious gaping hole in your tank, so spotting cracks will require some patience.
- Remove the fuel tank: If you’ve located the damage, you’ll need to remove the fuel tank from the dirt bike. This may require you to drain the fuel, disconnect the fuel lines, and remove any bolts or clamps holding the tank in place (watch the tutorial below for instructions).
- Repair the damage: If the damage to the fuel tank is minor, such as a small dent or scratch, you may be able to repair it yourself using a fuel tank repair kit. If the damage is more severe, such as a crack or hole, you’ll need to replace the fuel tank. Riding with a cracked tank is just asking for big trouble.
- Reinstall the fuel tank: After repairing or replacing the fuel tank, reinstall it on the dirt bike. Make sure to tighten all bolts and clamps securely and reconnect the fuel lines.
- Test for leaks: With your (maybe brand new) fuel tank back on the bike, test for leaks by starting the engine and checking for any drips or puddles of fuel.
How to Diagnose and Fix a Faulty Carburetor
Here’s how you can diagnose and fix a faulty carburetor:
- Inspect the carburetor: Visually inspect the carburetor for any signs of damage or wear. A faulty carburetor can cause a variety of issues, including poor performance, rough idling, and stalling because of ineffective fuel and air mixing.
- Check the air filter: Before diagnosing the carburetor, check the air filter to make sure it’s clean and in good condition. A dirty air filter can cause issues with the carburetor and engine performance (learn what happens if the air filter is dirty).
- Check the fuel flow: Check the fuel flow to the carburetor by turning on the fuel tap and checking for any leaks or blockages in the fuel lines.
- Clean the carburetor: If the carburetor is dirty or clogged, you can clean it using a carburetor cleaning solution or by removing and disassembling the carburetor for cleaning (see the video on how to do this below). Personal tip: use a clean working surface without clutter, otherwise good luck finding that little carburetor part among the debris.
- Adjust the carburetor: If the carburetor is not functioning properly, you may need to adjust the carburetor settings. This may include adjusting the idle speed, air-fuel mixture, and throttle cable.
- Replace the carburetor: If the carburetor is severely damaged or beyond repair, you’ll need to replace it. Make sure to purchase a carburetor that is compatible with your dirt bike.
Wrapping up
Now you have a number of possible solutions up your sleeve in case you find your dirt bike leaking gas.
Some of them are easier to do at home, such as fuel line inspection, while taking apart the carburetor is a bit more technical and may require the mechanic’s help.
Either way, I hope this article has taught you something useful that will make your life easier.
Happy riding!