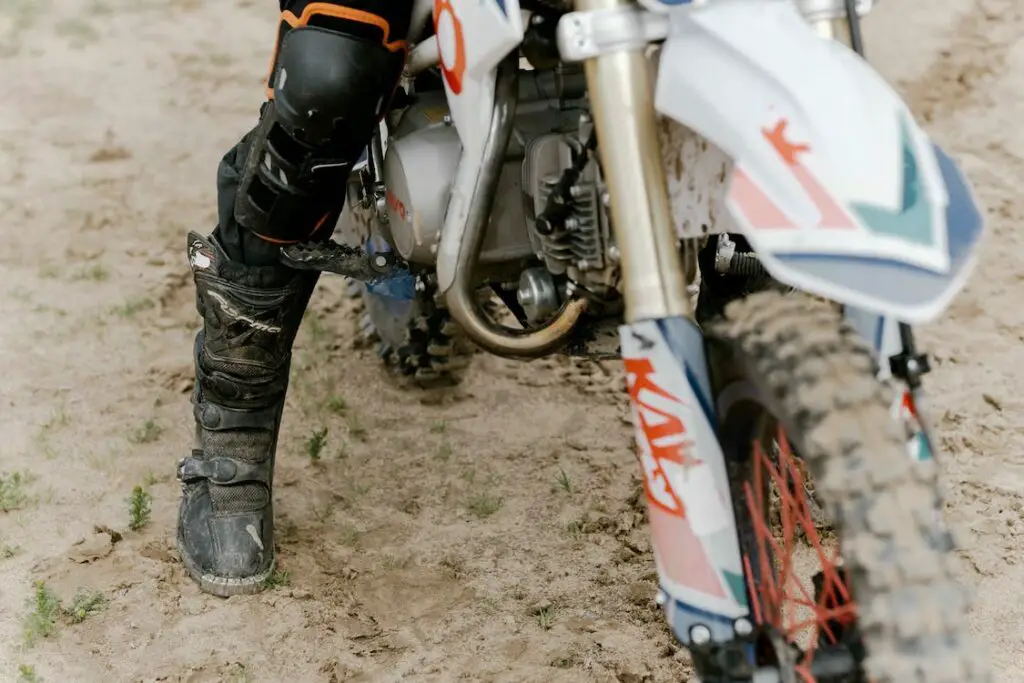
Is your dirt bike looking dirtier than usual after an off-road ride? Well, it’s time to give it some TLC and clean it up.
But wait, before you start scrubbing it down, there are a few things you need to keep in mind to avoid damaging your bike.
Cleaning a dirt bike is not just about making it look good, it’s also essential to ensure its longevity.
In this article, I will guide you through the steps of cleaning your dirt bike so that it stays in prime condition.
From removing sensitive parts to choosing the right detergent, we’ve got you covered.
So, get ready to learn the dos and dont’s of cleaning a dirt bike with our expert tips.
Why cleaning your dirt bike is important
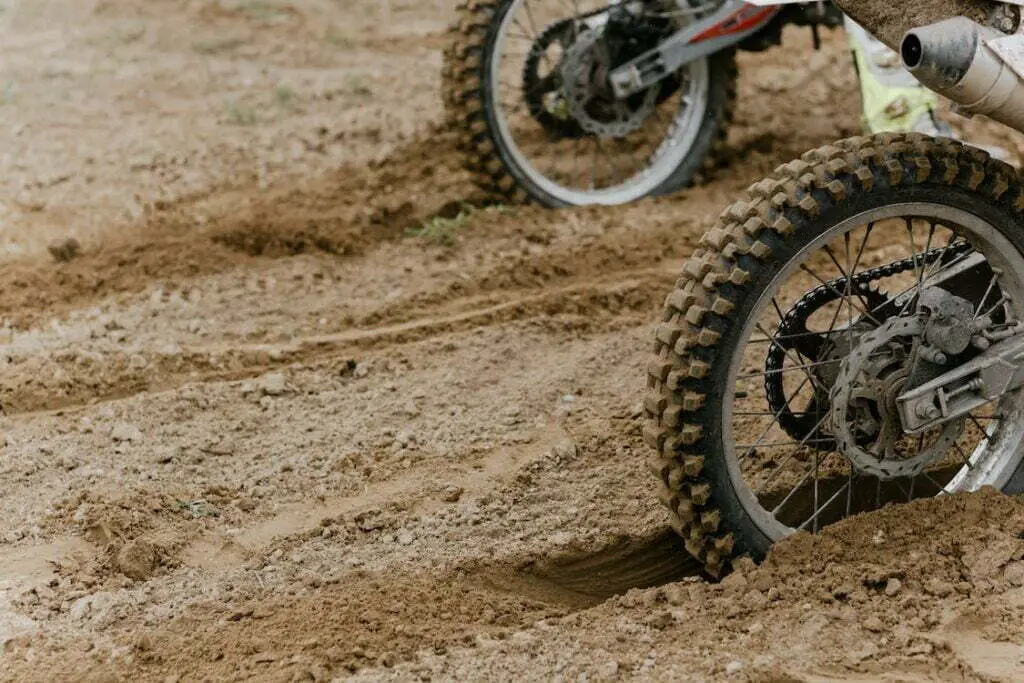
Maintaining your dirt bike is crucial for its longevity and safety. Regular cleaning is a fundamental aspect of its upkeep, as it prevents excess dirt and grime build-up from affecting the bike’s performance.
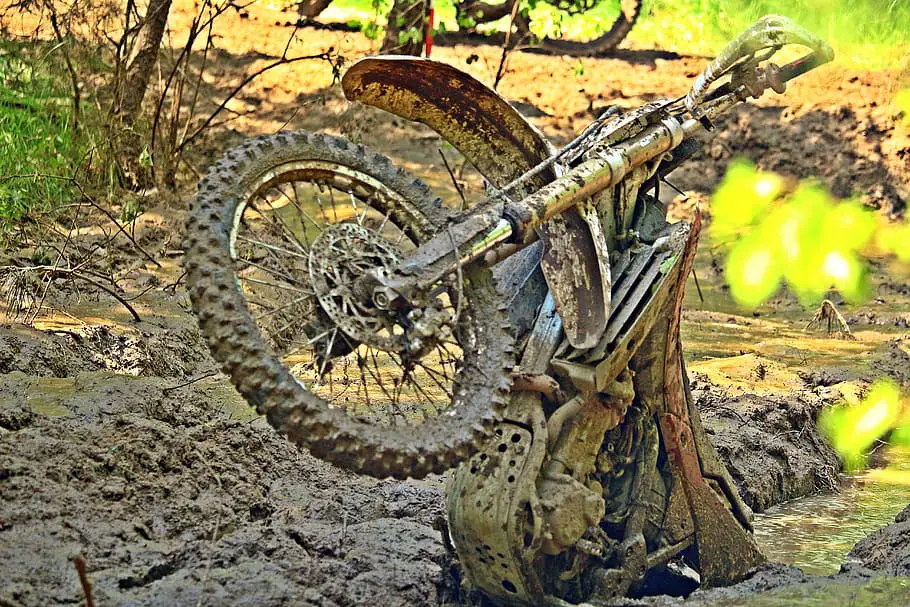
Dirt bikes are frequently exposed to harsh conditions, such as mud, making them prone to corrosion.
In addition, improper cleaning can lead to parts damage, which can significantly reduce the bike’s lifespan and resale value.
Safety precautions before you clean
Before you start cleaning your dirt bike, it is essential to take some safety precautions to avoid any mishaps.
Firstly, make sure the engine is off and the bike is cool to the touch.
Wear protective gear such as gloves and eye protection to avoid any chemical splashes or debris during cleaning.
Cover any electronic parts such as the ignition system and carburetor to prevent any water damage.
Also, never use harsh cleaning chemicals or abrasive brushes on plastic or softer parts to avoid any scratches or damage.
If you are thinking of water blasting your dirt bike, make sure you stand far away enough and set the nozzle to a softer shower setting when aiming at the seat and wires.
Otherwise, the pressure can damage the soft seat cover and rip out the wires (I’ve seen that happen).
By taking these safety precautions, you can have a hassle-free and safe cleaning experience for your dirt bike.
Step 1: Grab all necessary cleaning tools
Before starting the cleaning process, it is essential to gather all the necessary cleaning tools and materials.
You will need:
- Bucket
- High-pressure nozzle hose (often a garden hose with a good adaptor will do)
- Soft-bristled brush
- Microfiber cloth or sponge
- Specialized dirt bike cleaner
- Degreaser
- Chain cleaner
- Lubricant
- Plastic wrap or bags (to cover sensitive parts)
These items can be easily found at your local auto parts store or online.
Gathering these materials beforehand will make the cleaning process more efficient and effective, ensuring that your dirt bike is thoroughly cleaned and maintained.
Step 2: Remove loose dirt and debris from the bike using a soft-bristled brush
Before you start cleaning your dirt bike, it pays to remove any loose dirt and debris from it first.
You can do this easily using a soft-bristled brush, which won’t damage any parts of the bike.
This step is important because if you don’t remove the loose dirt before washing the bike, it can get trapped and scratch the bike’s surfaces during the cleaning process.
Be sure to get into all the nooks and crannies of the bike, including the chain and sprockets, to ensure you remove as much dirt as possible.
Once you have removed the loose dirt, you can move on to the next step in the cleaning process.
Step 3: Wet the bike with water to remove excess dirt
Start by lightly spraying the bike with water to loosen and soften the dirt.
This will make it easier to remove stubborn dirt in the later steps.
Make sure to use low pressure when spraying as high pressure can potentially damage your bike’s parts like the seat cover.
You can let the water sit for a minute or two before starting to wash the bike.
Remember to avoid getting water into places where water shouldn’t go, such as the airbox or the exhaust pipe (use an exhaust plug and cover up the airbox).
Step 4: Wash the bike thoroughly with a specialized dirt bike cleaner
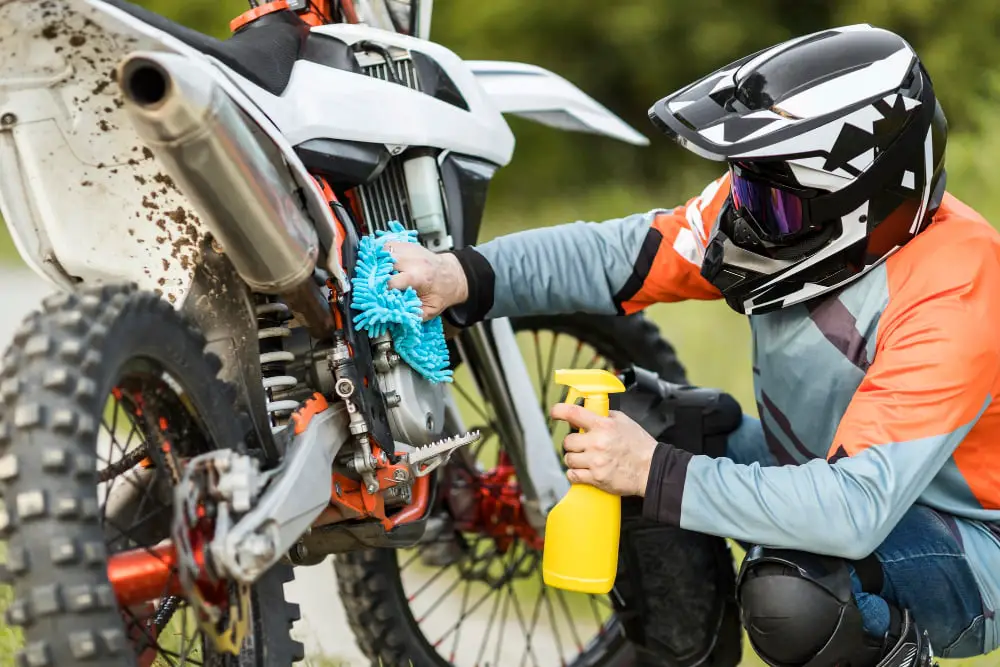
One essential step in cleaning a dirt bike is to use a specialized dirt bike cleaner to thoroughly wash the bike.
Regular household cleaners can strip the bike’s protective coating, making it more susceptible to damage.
Dirt bike cleaners are formulated to break down the tough grime often found on bikes and are gentle enough to not harm the bike’s finish.
Cleaning the bike completely will help to prevent rust and corrosion and ensure that it stays in optimal condition for longer.
So, make sure to invest in a high-quality dirt bike cleaner and take the time to thoroughly wash your bike to keep it in tip-top shape.
Step 5: Get rid of remaining dirt using a soft-bristled brush
After wetting and washing your dirt bike thoroughly, there may be parts that are still difficult to clean or have stubborn dirt.
To tackle these areas, use a soft-bristled brush again to scrub the dirt away gently.
Focus on areas such as the wheels, chain, and sprockets, where build-up is often the heaviest. Rinse the bike once more to wash away the dirt and debris you have loosened.
Step 6: Rinse the bike with water and check for any missed spots
After washing your dirt bike thoroughly and scrubbing off any stubborn dirt, it’s time to rinse the bike with water and check for any missed spots.
This step ensures that you have removed all the dirt and grime from your bike.
By rinsing with water, you can inspect the bike clearly and identify any spots that may have been missed during washing.
It’s important to check every part, including hard-to-reach areas, to make sure you don’t leave behind any dirt that could damage your bike in the future.
Take your time during this step to ensure that your bike is clean and ready for its next ride.
Step 7: Use a microfiber towel to dry the bike completely
Dirt bikes are not called that for nothing – they can handle a lot of the stuff you throw at them, like mud and water on the track.
However when in storage, it is important to keep your precious bike nice and dry.
So after you’ve finished washing your dirt bike, it’s important to dry it completely to prevent any water damage, rust, or corrosion.
A clean and dry microfiber towel is ideal for this task because it absorbs water quickly and doesn’t leave any lint behind.
Use the towel to gently wipe down all the different parts of your bike, making sure you don’t miss any spots.
It’s especially important to dry off metal components like the chain and gears because they can rust quickly if not properly dried.
Step 8: Apply lubricant to the chain and other moving parts
One very important step in cleaning your dirt bike is to apply lubricant to the chain and other moving parts.
This helps to protect them from wear and tear, and extend their lifespan.
It is important to use the right type of lubricant, such as drip oil or spray-on chain lube, which is designed to seep into the chain and provide a protective barrier between the moving parts.
Applying the lubricant evenly and allowing it to properly set up is key to its effectiveness.
Regular lubrication and maintenance of your bike’s chain and other moving parts can go a long way in keeping it in good condition.
Step 9: Polish the plastics and other surfaces to give them a shiny finish
Once the dirt bike is clean and dry, polishing the plastics and other surfaces can give them a shiny finish.
Applying a coat of plastic polish can help protect the plastic and make it look like new.
One easy way to polish the plastic is by using baking soda and toothpaste, which are both soft and gentle abrasives.
However, it’s important to use a spray-on polish afterwards to bring back the glossy finish.
Additionally, clay bars can also be used to remove hidden debris and add shine to the surface.
To be honest I haven’t polished my dirt bike even once, because in my opinion it was a waste of time to spend time polishing something that will be ripping through mud the next weekend.
However, it does make your machine look bad ass, so I will leave it up to you if you want to polish or not, I guess this is an optional step.
Step 10: Reinstall any parts that were removed during the cleaning
Once you’ve thoroughly cleaned your dirt bike, it’s time to put everything back in its place.
This includes any parts that were taken off during the cleaning process, such as the air filter, seat, or exhaust plug.
It’s important to ensure that everything is reinstalled correctly and securely, and that no bolts or nuts were left behind.
Once everything is in place, take a moment to inspect your bike and make sure it looks and functions properly.
Regularly clean and maintain your bike to keep it in good condition
Regularly cleaning and maintaining your dirt bike is crucial for keeping it in good condition.
Ignoring proper maintenance can lead to costly repairs down the line, as well as potential safety hazards while riding.
By inspecting your bike regularly, washing it after every ride, and replacing parts as needed, you can keep your dirt bike functioning properly and lasting for years to come.
Additionally, taking the time to properly care for your bike shows your love and respect for the sport, and can even boost your performance on the track.
Don’t take your dirt bike for granted – give it the attention it deserves.
Tips to follow in between thorough cleanings
To maintain your dirt bike’s performance and extend its lifespan, it’s important to clean and maintain it regularly.
In between thorough cleanings, there are a few tips that you can follow to keep your bike in good condition.
- Firstly, wipe down your bike with a microfiber cloth after each ride to remove any excess dirt or debris.
- Secondly, check and clean the air filter regularly to ensure that it’s functioning properly.
- Additionally, lubricate the chain and other moving parts as needed and check the tire pressure before each ride.
By following these simple tips, you can protect your fun investment and enjoy riding your dirt bike for years to come.
Wrapping up
Regularly cleaning your dirt bike is crucial for maintaining its optimal condition and working order.
Dirt and debris buildup can cause mechanical damage and promote corrosion, leading to faster deterioration of the bike’s parts.
Plus, poor maintenance can also increase the risk of accidents and injuries.
By taking the time to clean and maintain your bike after every ride, you can prevent these issues and prolong the lifespan of your investment.
So, make sure to follow the necessary cleaning procedures and gather the right materials for a thorough and effective cleaning session.