It’s time to get your hands dirty and tackle DIY dirt bike maintenance.
Making sure your dirt bike is well-maintained is critical for its longevity and performance, and fortunately, you don’t need to be a pro mechanic to take care of your bike.
In this article, I’ll walk you through all the maintenance tasks you can do yourself, even if you’re new to riding.
We’ll cover everything you need to know – from adjusting suspension settings to changing oil.
We’ll also discuss what tools you need and why they’re essential in your dirt bike maintenance toolkit.
By the end of this post, you’ll feel confident in your ability to tackle these maintenance tasks.
So, without further ado, let’s dive into DIY dirt bike maintenance!
Maintenance is key to keeping your bike in top shape and avoiding expensive repairs.
But don’t worry – you don’t need to be a mechanic to care for your dirt bike.
In fact, there are plenty of simple maintenance tasks you can do on your own, even if you’re still starting out.
I’ve compiled a comprehensive list that covers all the essential tasks you need to do to keep your bike running smoothly. Let’s look at each item on the list:
1. Change oil and oil filter
Changing your dirt bike oil and oil filter on your dirt bike is crucial to ensure your engine runs smoothly and efficiently.
This prevents wear and tear and extends your bike’s life.
But don’t worry – it’s an easy maintenance task even a beginner rider can do!
Check your bike’s performance to discover when it needs its oil and filter changed.
If you notice a decrease in power, unusual engine noise, or excessive smoking, it may be time to change the oil.
You can also check your owner’s manual for recommended oil change intervals.
Here are the simple steps to change the oil and filter:
- Warm up the bike for a few minutes before turning it off and letting it cool down.
- Place a pan under the oil drain plug to catch the old oil, and remove the plug to let the old oil drain out.
- Remove the oil filter and install the replacement, coating the rubber gasket with new oil and hand-tightening it in place.
- Replace the drain plug and add the recommended amount of oil using a funnel.
- Check the oil level on the dipstick and start the engine to check for leaks.
I recommend changing the oil and filter every 10-15 hours of riding or every few months if you ride less frequently.
However, if you ride in harsh or dusty conditions, you may need to change it more frequently.
2. Clean or replace the air filter
The air filter is crucial to keeping your dirt bike running smoothly.
It blocks dirt, dust, and debris from entering your engine, preventing serious damage.
But if the filter becomes clogged or damaged, it can no longer do its job effectively.
That’s why it’s essential to clean or replace your air filter regularly.
To determine when to clean or replace your air filter, look for signs of decreased performance, like a loss of power or acceleration.
Check the filter for visible dirt and debris after every ride.
To clean your air filter, first, remove it from the airbox and use compressed air to blow out any dirt or debris.
You can use mild soap and water to clean it.
After cleaning, dry it thoroughly before reinserting it into the airbox.
If the air filter is too dirty to clean or damaged beyond repair, it’s time to change it.
Locate the airbox, remove the cover, and carefully replace the old filter with the replacement.
Reinstall the cover properly and secure it in place.
Check the air filter housing for any signs of damage or wear and replace if necessary.
3. Replace the spark plug
Maintaining a well-functioning spark plug is crucial for a smooth dirt bike ride.
A spark plug ignites the fuel-air mixture in the engine’s combustion chamber, so if it’s worn out or dirty, your bike won’t perform as well as it should.
To know if your spark plug needs replacement, look for signs like difficulty starting the bike, rough idle, or reduced power. Thankfully, replacing it is easy.
First, consult your owner’s manual to determine a suitable spark plug for your bike.
Then, use a socket wrench and a spark plug socket to remove the old spark plug.
Check the old spark plug for signs of damage or wear.
Replace it with another one that matches your owner’s manual specifications.
Tighten the newly installed spark plug by hand, then use your socket wrench to snug it in.
As a general rule, it’s recommended to replace your spark plugs every 20-30 hours of riding or at least once a year, whichever comes first.
However, if you frequently ride in dirty or dusty conditions, you may need to replace it more often.
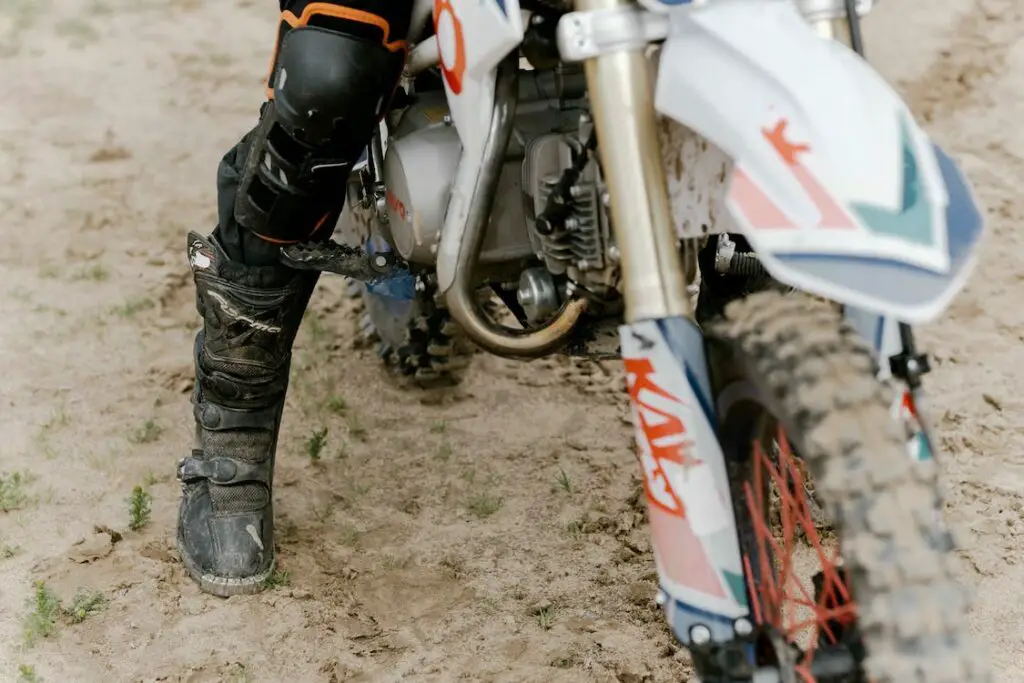
4. Check tire pressure and adjust as needed
When your tire pressure is too low or too high, it can affect your handling and traction and even cause blowouts.
That’s why it’s critical to check your tire pressure regularly.
To check your tire pressure, use a tire pressure gauge.
Just remove the valve stem cap, attach the gauge to the valve stem, and read the pressure measurement.
If the pressure is too low, add air using a pump until it reaches the recommended PSI.
If the pressure is too high, release some air with a tool or screwdriver until you match the recommended PSI.
You can find the recommended tire pressure for your dirt bike in the owner’s manual or a sticker on the bike’s frame or swingarm.
Tire pressure can vary based on terrain and weather conditions, so adjust it accordingly for a safe and enjoyable ride.
5. Inspect and clean the carburetor
A dirty carburetor can lead to poor performance, stalling, and even engine damage, so you should inspect and clean it regularly.
If you notice your engine running poorly, idle roughly, or having difficulty starting the bike, it’s time to check the carburetor.
To clean it, remove the carburetor from the engine and carefully disassemble each component.
Clean it using a carburetor cleaner and a soft-bristled brush, especially the jets, which can easily become clogged with dirt and debris.
Once cleaned, reassemble the carburetor and reinstall it on the engine.
You should clean your carburetor at least once a year or after every 100 hours of riding, especially if you frequently ride in dusty or dirty conditions.
6. Bleed brakes and replace brake fluid
Bleeding the brakes and replacing brake fluid is a critical part of your maintenance routine as it prevents brake failure and ensures the braking system works correctly.
You can tell that your brake system needs bleeding or fluid replacement if you experience a spongy brake lever feel.
This feeling is usually caused by air bubbles in the brake line or contaminated brake fluid.
To bleed your brakes and replace brake fluid, follow these steps:
- Remove the old brake fluid from the reservoir.
- Attach a clear plastic hose to the bleed nipple and put the other end in a container.
- Open the bleed nipple and pump the brake lever or pedal until clear, bubble-free fluid comes out.
- Close the bleed nipple and top up the reservoir with fresh brake fluid.
- Pump the brake lever or pedal a few times to distribute the new fluid.
- Repeat the process until the fluid coming out of the hose is clear and bubble-free.
- Wipe off any excess brake fluid and check the reservoir level.
You should bleed your brakes and replace brake fluid every two years or after 10,000 kilometers of riding, whichever comes first.
However, if you frequently ride in harsh conditions or muddy terrains, you may need to do it more often.
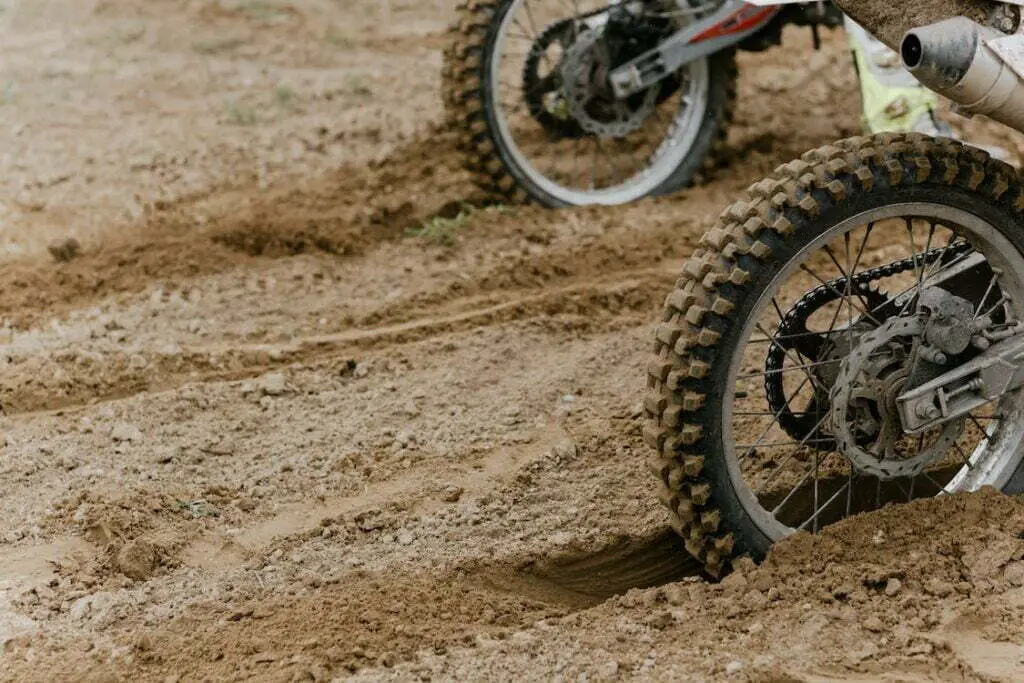
7. Adjust chain tension
It’s crucial to check your chain tension before every ride to prevent accidents.
A tight chain can cause premature wear of drivetrain components, while a loose chain can damage sprockets and make the bike unstable.
Checking and adjusting chain tension should be done every 500-1000 miles.
To adjust chain tension:
- Ensure your bike is on a level surface and is neutral.
- Locate the chain tension adjusters on your bike’s rear-wheel located on either side of the rear axle.
- Remove the bolts on the axle and adjusters.
- Use a chain tension tool or ruler to measure the amount of slack in the chain. You want to aim for 1-2 inches of slack.
- Adjust the tension by turning the adjuster bolts on both sides of the rear wheel. Make sure you turn them evenly to keep the wheel straight.
- Once adjusted, tighten the bolts on the axle and adjusters.
8. Lubricate cables and control pivots
Lubricated cables and control pivots ensure smooth operation, prevent cable snapping, and maintain maneuverability.
You can check if they need lubrication by turning your handlebars from one side to the other.
Look for any hesitation or stiffness in the movement. If you notice any, it’s time to lubricate them.
To lubricate the cables and control pivots, follow these simple steps:
- Use a rag to remove any debris or dirt buildup on the cables and pivots.
- Apply lubricant to the cables and control pivots, ensuring it penetrates the pivot area and cable strands. You can use spray or cable lubricant, but follow the instructions on the packaging and use only the recommended amount.
- Work the controls and cables back and forth to spread the lubricant evenly.
- Use a clean rag to wipe off any excess lubricant.
I recommend lubricating the cables and control pivots every six months, or more frequently if you ride in dusty or wet conditions.
9. Adjust suspension settings
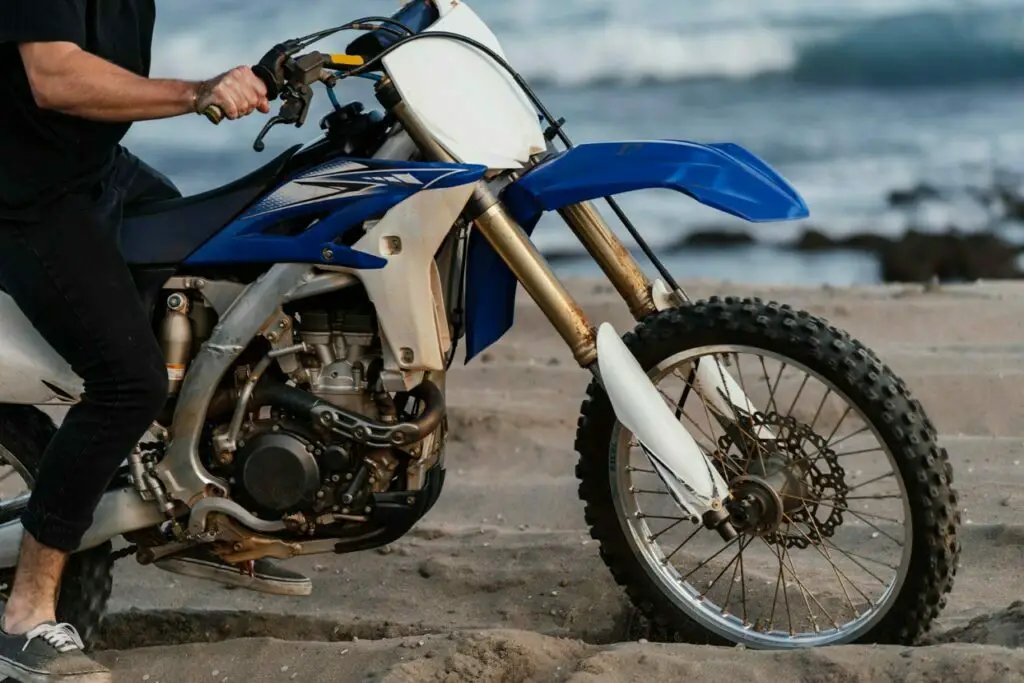
Knowing when to adjust your suspension settings is imperative to optimize your ride.
Look for signs such as bottoming out, excessive bouncing or sagging, lack of traction, or excessive shock or vibration.
Consult your bike’s user manual for recommended suspension settings based on your weight and riding style.
Locate the adjustment knobs or screws on your bike’s forks and shocks.
Use a suspension adjustment tool to turn the knobs or screws clockwise to increase stiffness or counterclockwise to decrease stiffness.
Be sure to adjust both compression and rebound settings for a balanced ride.
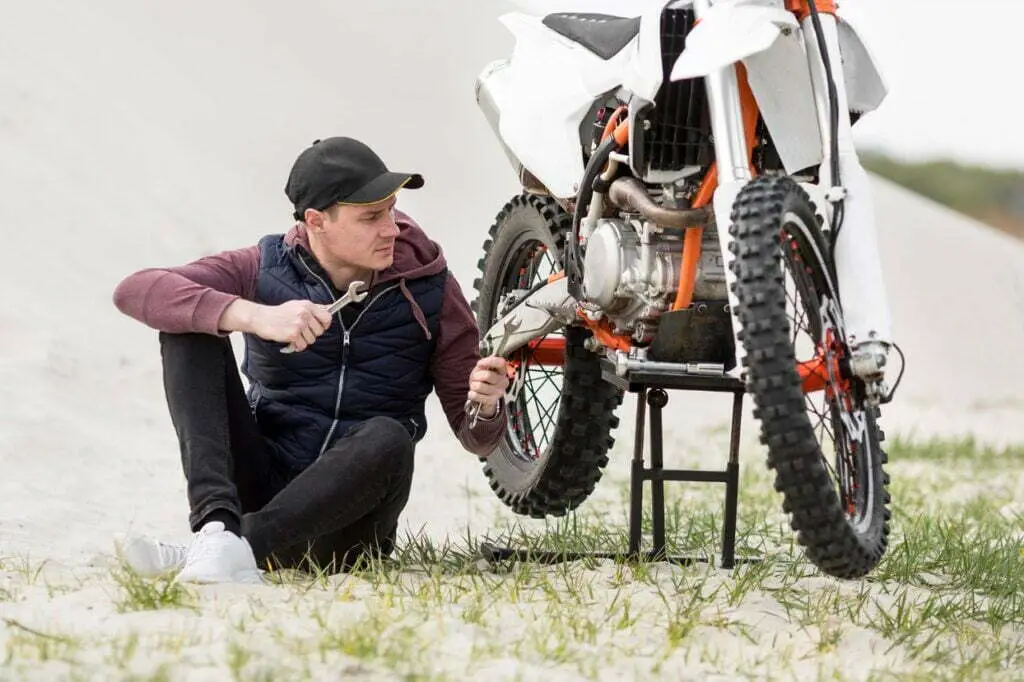
What tools do I need for dirt bike maintenance?
To keep your bike in top shape, you’ll need these essential tools for dirt bike maintenance:
- Metric wrench set – for tightening and loosening nuts and bolts
- Metric socket set – for removing bolts in tight spaces
- Screwdriver set (both flathead and Phillips head) – for adjusting screws and bolts
- Pliers (needle-nose, slip-joint, and locking) – for various tasks, such as gripping and cutting wires, removing pins, and tightening nuts
- Allen key set (also known as hex keys) – for tightening and loosening bolts with hexagonal sockets
- Torque wrench – ensures proper tightening of bolts or nuts with a specific amount of force
- Spoke wrench – for tightening or loosening the spokes on the bike’s wheels
- Tire pressure gauge – for checking tire air pressure
- Tire iron – for removing and installing tires from the rim
- Puncture repair kit – for repairing punctures on tube-type tires
- Carburetor cleaner – for cleaning the carburetor and removing debris from the bike’s fuel system
- Brake bleeding kit – for bleeding brake lines and removing air bubbles that affect brake performance
- Chain lubricant – for reducing chain wear and prolonging life
- Electrical tape – to insulate and protect electrical connections from water and dirt
- Hour meter – for keeping track of bike engine hours for proper maintenance scheduling
- Spare spark plugs – a handy replacement if the one on your bike fails
Conclusion
Regular dirt bike maintenance is crucial for a safe and enjoyable ride.
With the tips in this guide, you can perform basic maintenance tasks yourself and keep your dirt bike in perfect condition.
If you’re unsure how to do some of these tasks, don’t worry, there are plenty of tutorials available online in the form of articles, YouTube videos, and forums.
However, if you experience any unusual sounds, vibrations, or handling issues, it’s advisable to have a professional mechanic take a look.