Whether you’re a seasoned dirt bike enthusiast or a beginner hitting the trails for the first time, understanding how to properly adjust your bike’s chain is essential.
A well-maintained chain ensures smooth power transfer, improved performance, and most importantly, safe riding.
In this guide, we’ll walk you through the process of adjusting your dirt bike chain, sharing tips and insights based on our own experience.
Don’t worry if you’re new to this, I’ve got you covered!
This article is a part of Dirt Bike Repairs Guide.
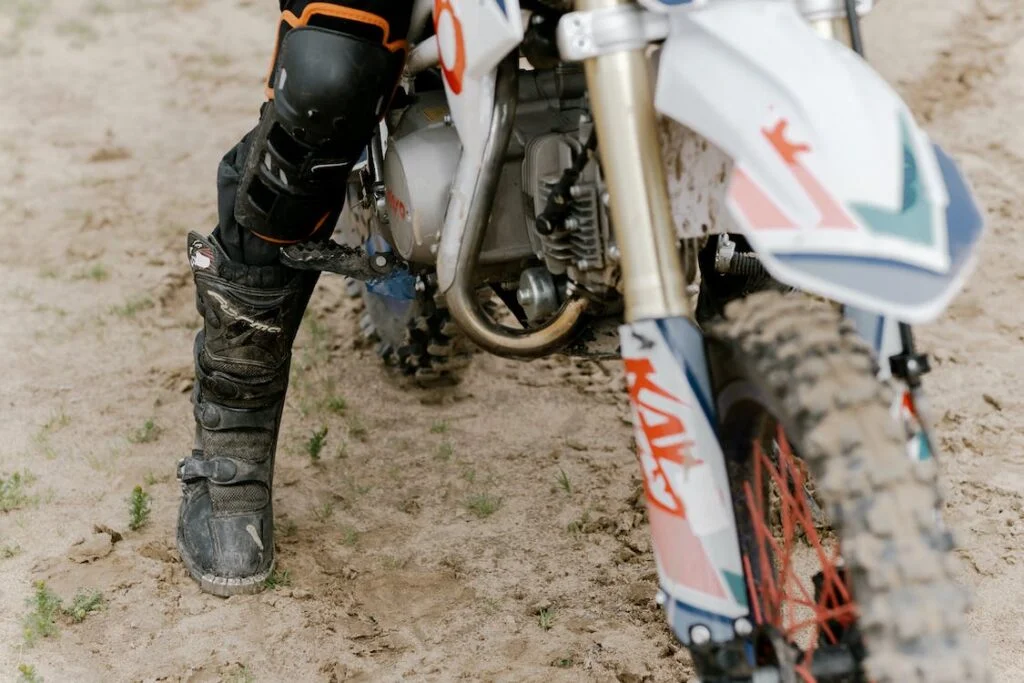
Steps for adjusting dirt bike chain
Understanding the Basics
Before diving into the adjustment process, let’s familiarize ourselves with the basic components of a dirt bike chain.
The chain is made up of links that fit around sprockets, transferring power from the engine to the rear wheel.
The chain tension refers to how tight or loose the chain is.
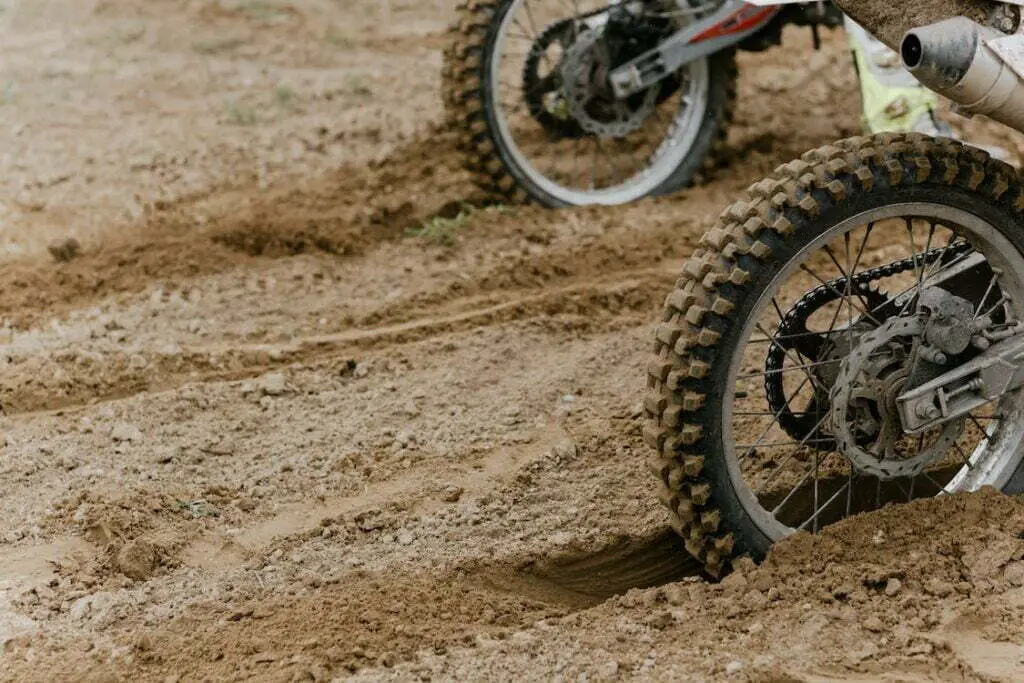
Checking Chain Tension
To determine if your chain needs adjustment, first, place your dirt bike on a stand or lift so that the rear wheel is off the ground.
Now, push and pull the chain up and down at the midpoint between the front and rear sprockets.
Ideally, the chain should have around 1.5 inches (3-4 cm) of vertical movement.
If it’s too loose or too tight, adjustment is necessary.
Loosening the Axle Nut and Chain Adjusters
To begin adjusting the chain, locate the axle nut on the right side of the rear wheel.
Use a wrench or socket to loosen it slightly, but don’t remove it just yet.
Next, locate the chain adjusters, usually found on either side of the swingarm near the rear axle.
These adjusters allow you to control the tension of the chain.
Achieving Proper Chain Tension
Now that you’ve loosened the axle nut and chain adjusters, you can begin adjusting the chain tension.
To ensure even tension on both sides, it’s recommended to adjust the chain a little at a time, alternating between the left and right adjusters.
Rotate the adjusters clockwise to tighten the chain and counterclockwise to loosen it.
In my own experience, it’s best to start with a slightly looser chain and gradually tighten it until you reach the desired tension.
Remember to refer to your dirt bike’s manual for specific recommendations regarding chain tension and adjustment.
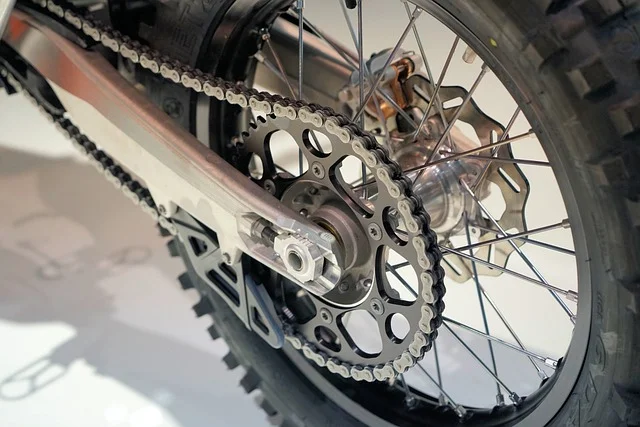
Measuring Chain Slack
To accurately measure chain slack, use a ruler or a specialized chain slack tool.
Position the measuring device beneath the chain, ensuring it’s parallel to the ground.
Push the chain up, and measure the distance between the bottom of the chain and the swingarm.
This measurement represents the chain slack.
In my own experience, maintaining an ideal chain slack of around 1 to 1.5 inches (2.5-3.8 cm) is generally recommended.
However, it’s crucial to consult your bike’s manual for the manufacturer’s specific guidelines.
Finalizing the Adjustment
Once you’ve achieved the desired chain tension and slack, it’s time to finalize the adjustment.
Tighten the chain adjusters evenly on both sides to maintain balance.
While holding the adjusters in place, use a torque wrench to tighten the axle nut to the recommended specifications outlined in your bike’s manual.
In my own experience, it’s crucial to avoid over tightening the chain, as it can lead to excessive wear on the sprockets and decrease performance.
Similarly, an overly loose chain can jump off the sprockets, compromising your safety.
Bonus read: How To Lubricate Dirt Bike Chain
Video guide
I’ve selected a great video for you that shows the whole process of chain adjustment.
Choosing the right chain for your dirt bike
Sometimes while adjusting your chain you realize that it is well worn and you need to replace it with a new chain.
A properly selected chain not only ensures smooth power transfer but also contributes to the overall longevity and reliability of your bike.
Understand Chain Types
There are two primary types of chains for dirt bikes: standard chains and O-ring chains.
Standard chains are a more traditional choice and are commonly used for motocross and off-road riding.
They are lighter and offer better power transfer but require frequent maintenance and lubrication.
On the other hand, O-ring chains feature rubber O-rings between the side plates, which keep the lubrication sealed within the chain and reduce maintenance requirements.
O-ring chains are generally preferred for trail riding and long-lasting performance.
Determine Chain Size
Choosing the correct chain size is crucial for optimal performance and safety.
The chain size is determined by the number of links and the pitch.
The pitch refers to the distance between the roller centers in fractions of an inch or millimeters.
To determine the correct chain size for your dirt bike, refer to your bike’s manual or consult with a reputable dealer.
They will provide you with the recommended chain size specific to your dirt bike’s make, model, and year.
Consider Chain Quality
In my own experience, investing in a high-quality chain can significantly impact your dirt bike’s performance and durability.
Opt for chains from reputable manufacturers known for their quality and reliability.
High-quality chains are built to withstand the demanding conditions of off-road riding, offering better strength, resistance to wear, and longer service life.
They may cost more upfront, but they will ultimately save you money in the long run by reducing the need for frequent replacements.
Research Brand and User Reviews
Before making a final decision, conduct some research on different chain brands and read user reviews.
In my own experience, hearing from other dirt bike enthusiasts who have used a particular chain can provide valuable insights into its performance, durability, and overall satisfaction.
Look for reviews that highlight factors such as longevity, resistance to stretching, ease of maintenance, and overall quality.
Consider brands that have a positive reputation within the dirt bike community.
Consult with Professionals
If you’re unsure about which chain to choose or have specific performance requirements, don’t hesitate to seek guidance from professionals at your local dirt bike shop or reputable mechanics.
They can offer expert advice based on their experience and knowledge.
Provide them with information about your riding style, terrain, and any specific needs you may have.
With their expertise, they can help you make an informed decision and ensure you select the right chain that best suits your dirt bike and riding preferences.
Choosing the right chain for your dirt bike is a crucial decision that should not be taken lightly.
By understanding the different chain types, determining the correct size, considering chain quality, researching brand and user reviews, and consulting with professionals, you can make an informed choice that enhances your bike’s performance and durability on the trails.
Wrapping up
Congratulations! You’ve successfully adjusted your dirt bike chain.
You also know how to pick a new chain for your bike, in case it needs replacement.
Regularly checking and maintaining proper chain tension will not only enhance your bike’s performance but also prolong the life of your chain and sprockets.
Remember to perform routine inspections and adjustments to ensure a safe and enjoyable riding experience.
With practice, you’ll become more confident in maintaining your dirt bike and be ready to hit the trails with peace of mind.
Happy riding!