If you’re looking to fine-tune your ride for optimal performance, one crucial aspect you should never overlook is your brakes.
As a seasoned rider, I’ve had my fair share of experiences with adjusting dirt bike brakes, and I’m here to share my knowledge with you.
In this guide, we’ll explore the step-by-step process of adjusting your dirt bike brakes, ensuring you have the stopping power you need on any terrain.
This article is a part of Dirt Bike Repairs Guide.
Steps for adjusting dirt bike brakes
Grab Your Tools
Before we get our hands dirty, let’s make sure we have all the necessary tools at our disposal.
For adjusting your dirt bike brakes, you’ll typically need a few items:
- wrench (specifically, an open-end wrench or a socket wrench)
- screwdriver (preferably a flat-head screwdriver)
- set of Allen keys
It’s also a good idea to have a clean rag handy for wiping off any dirt or grime you might encounter during the process.
With your tools ready, let’s move on to the next step.
Locate the Brake Adjustment Points
In my own experience, dirt bikes usually have two brake adjustment points: one for the front brake and another for the rear brake.
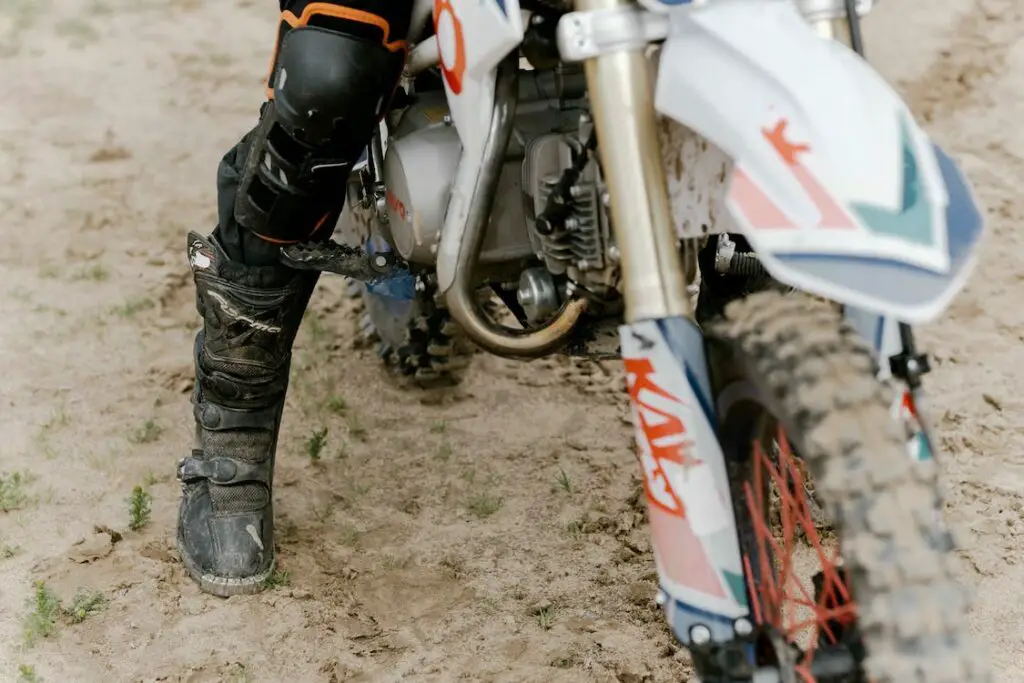
To locate these points, start by inspecting your bike’s brake calipers.
The front brake caliper is usually found near the front wheel, attached to the front fork, while the rear brake caliper is situated near the rear wheel, mounted on the swingarm.
Look closely at the calipers, and you’ll spot two adjustment nuts or bolts on each side.
These nuts control the position of the brake pads in relation to the brake rotor.
On some models, you might also find a third adjustment point near the brake lever or pedal, allowing you to fine-tune the free play or initial engagement of the brakes.
Adjust Brake Pad Clearance
Now that we’ve identified the brake adjustment points, it’s time to make the necessary adjustments to ensure optimal brake pad clearance.
Start by loosening the bolts or nuts on both sides of the caliper using your wrench or Allen key.
By doing so, you’ll be able to move the caliper and adjust the position of the brake pads.
Once the bolts are loose, squeeze the brake lever or pedal to bring the brake pads closer to the rotor.
While keeping the lever or pedal pressed, tighten the adjustment bolts gradually.
Be sure to check the brake pad clearance by spinning the wheel after each adjustment.
Ideally, you want the brake pads to be close enough to the rotor to provide sufficient stopping power but not so close that they rub against it.
If you notice any rubbing, simply back off the adjustment bolts slightly until the rubbing stops.
Conversely, if the brake pads are too far from the rotor, continue tightening the bolts until you achieve the desired clearance.
Remember, it’s crucial to adjust both sides of the caliper evenly to maintain proper brake balance.
Adjusting Brake Lever or Pedal Free Play
In some cases, you may also need to adjust the free play or initial engagement of your brakes.
To do this, locate the adjustment point near the brake lever or pedal.
Using your wrench or Allen key, loosen the lock nut, allowing you to turn the adjustment screw.
If you find that your brake lever or pedal has excessive free play, turn the adjustment screw clockwise to reduce it.
On the other hand, if the lever or pedal engages too quickly or feels too tight, turn the adjustment screw counterclockwise to increase the free play.
Once you’re satisfied with the adjustment, tighten the lock nut to secure the setting in place.
Video instructions
Here are handy video guides on how to adjust the front and rear brakes.
Drum brakes VS disc brakes for your dirt bike
When it comes to dirt bike brakes, there are primarily two types to consider: drum brakes and disc brakes.
Each type has its advantages and disadvantages, and choosing the right one for your dirt bike depends on your riding style, preferences, and budget.
Let’s take a closer look at these two types and explore how to make an informed decision.
Drum Brakes
Drum brakes are the traditional braking system found on older dirt bikes and some entry-level models.
They consist of a brake drum attached to the wheel hub and a set of brake shoes inside the drum.
When the brake lever or pedal is engaged, the brake shoes press against the drum, generating friction and slowing down the wheel.
Advantages
- Cost-effective: Drum brakes are generally less expensive to manufacture and replace compared to disc brakes.
- Simplicity: Drum brakes have a straightforward design, making them easy to maintain and service.
Disadvantages
- Performance limitations: Drum brakes tend to offer less stopping power and can be prone to fading, especially during intense riding or in wet conditions.
- Heat dissipation: Drum brakes are less effective at dissipating heat, which can lead to brake fade and reduced performance during prolonged use.
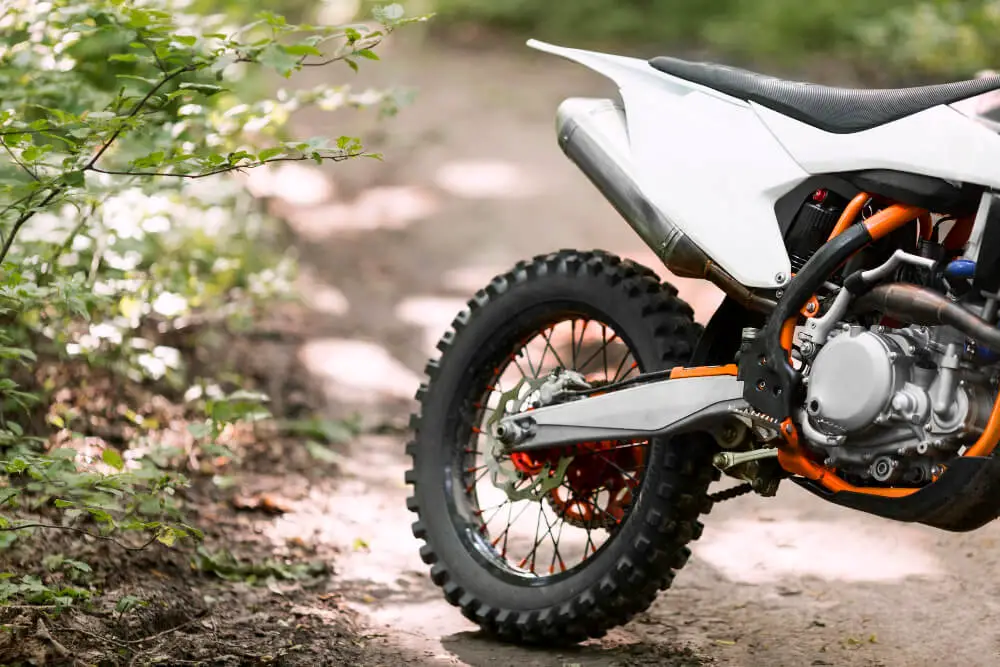
Disc Brakes:
Disc brakes have become the standard braking system for modern dirt bikes, thanks to their superior performance and reliability.
They consist of a rotor attached to the wheel hub and a caliper with brake pads that squeeze against the rotor to slow down the wheel.
Advantages
- Increased stopping power: Disc brakes provide excellent stopping power, allowing riders to have more control and confidence in various riding conditions.
- Heat dissipation: The design of disc brakes allows for better heat dissipation, reducing the chances of brake fade and maintaining consistent performance.
- Self-cleaning: Disc brakes are less prone to getting clogged with mud, rocks, or debris, as the rotating action helps self-clean the braking surface.
Disadvantages
- Higher cost: Disc brakes tend to be more expensive to manufacture and maintain compared to drum brakes.
- Maintenance complexity: While disc brakes are generally reliable, they may require occasional pad replacement and rotor resurfacing or replacement.
Choosing the Right Brake Type
When deciding which type of brake to choose for your dirt bike, consider the following factors.
Riding Style
Evaluate your riding style and the type of terrain you frequent.
If you ride aggressively, tackle steep descents, or participate in racing, disc brakes are highly recommended for their superior stopping power and heat dissipation capabilities.
On the other hand, if you engage in more casual off-road riding or have a vintage dirt bike, drum brakes may suffice.
Budget
Consider your budget for purchasing and maintaining your dirt bike.
Drum brakes are generally more budget-friendly, making them a suitable option if you’re cost-conscious.
However, if you can afford the initial investment and occasional maintenance costs, disc brakes offer better performance and reliability in the long run.
Bike Compatibility
Check if your dirt bike is already equipped with a specific brake type.
If you’re upgrading or replacing the brakes, make sure the new system is compatible with your bike’s frame, wheel hubs, and other components.
Personal Preference
Ultimately, your personal preference plays a role in the decision.
If you have prior experience and are comfortable with a particular brake type, you may choose to stick with what you know best.
Remember, the type of brake system you choose can significantly impact your riding experience and safety.
If you’re unsure or have specific questions, consult with an experienced mechanic or knowledgeable riders who can provide insights based on their own experiences.
In conclusion, both drum brakes and disc brakes have their pros and cons.
While disc brakes offer superior performance and reliability, drum brakes can be a cost-effective and simpler option.
Assess your riding style, budget, bike compatibility, and personal preference to make an informed decision on the type of brakes that best suit your needs.
Wrapping up
Congratulations! You’ve learned how to adjust your dirt bike brakes, enhancing your control and safety while tearing up the trails.
Remember, brake adjustment is an essential part of regular maintenance, and it’s always a good idea to double-check your adjustments before every ride.
By following the steps outlined in this friendly guide, you’ll be able to fine-tune your dirt bike’s braking system like a pro.
We also discussed two types of dirt bike brakes, which will help you make an informed decision about your bike setup.
So, go ahead and enjoy the exhilaration of off-road riding, knowing you have the stopping power you need whenever you need it.
Ride safe and have a blast!