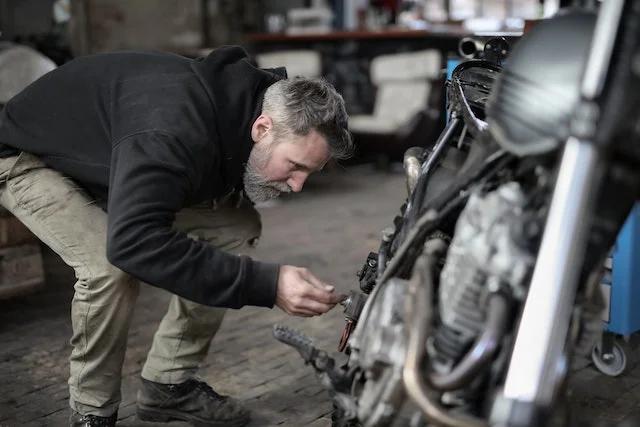
It is Saturday morning and you’re pumped to hit some trails with your buddies.
Wanting to do a test run before heading out, you hop on your dirt bike and give it a kick. Then another. And another. Oh no! The dirt bike won’t start…
There could be several reasons why this is happening.
Here are a few things you can check to help diagnose the problem.
Check the Fuel Level
Ensure that there is enough fuel in the tank, and that the fuel is clean and fresh. If the fuel is old or contaminated, it may need to be drained and replaced.
Check the Battery
If your dirt bike has an electric starter, check the battery to make sure it is charged and in good condition.
Check the Air Filter
A dirty or clogged air filter can restrict air flow to the engine, making it difficult to start. Make sure the air filter is clean and in good condition.
Check the Fuel Lines
Make sure the fuel lines are clean and not clogged. If the fuel lines are clogged, the engine may not be getting enough fuel to start.
Check the Spark Plug
Check the spark plug to make sure it is clean and properly gapped. If the spark plug is fouled or damaged, it may need to be replaced.
Check the Carburetor
If the carburetor is dirty or clogged, it can prevent the engine from starting. You may need to clean or rebuild the carburetor.
Now, let’s take a closer look at how to do each one of these checks.
Check fuel level
Checking the fuel level in your dirt bike is a simple process. First, locate the fuel tank on your dirt bike.
The fuel tank is typically located towards the front or middle of the bike.
Next, remove the fuel tank cap or seat, depending on the design of your bike.
Look inside the fuel tank to check the fuel level. If the fuel level is low, add more fuel to the tank.
Be sure to use the correct type of fuel for your bike, as specified in the owner’s manual.
Once you have added fuel, replace the fuel tank cap or seat securely.
It’s a good idea to check the fuel level before every ride to ensure that you have enough fuel to reach your destination safely.
Check out this article for tips on dirt bike gas tank maintenance.
Check battery (if installed)
To check the battery in your dirt bike, start by locating the battery.
In most bikes, the battery is located under the seat or near the engine.
If your bike has a cover over the battery, remove it to access the battery terminals.
Check the terminals for any signs of corrosion or loose connections.
If you see corrosion, use a wire brush to clean the terminals.
Next, use a multimeter to check the battery voltage.
Connect the positive (red) lead of the multimeter to the positive terminal of the battery, and the negative (black) lead to the negative terminal.
If the battery voltage is below the recommended level, you may need to charge or replace the battery.
If the voltage is within the recommended range, the battery is likely not the cause of the starting problem.
It’s important to maintain your battery by keeping it charged and replacing it when it no longer holds a charge, as a weak or dead battery can prevent your bike from starting.
Check air filter
To check the air filter in your dirt bike, start by locating the air filter.
The air filter is typically located near the carburetor, and is enclosed in a housing.
To check the air filter, remove the housing cover and inspect the air filter for any signs of dirt or damage.
If the air filter is dirty, it can restrict airflow to the engine and cause starting problems.
If the air filter is dirty, you can clean it by gently tapping it against a hard surface to dislodge any dirt, or by using compressed air to blow out the dirt.
If the air filter is damaged or worn, it may need to be replaced.
It’s important to maintain the air filter by checking it periodically and cleaning or replacing it as needed, as a dirty or clogged air filter can cause engine problems and reduce performance.
Check fuel lines
To check the fuel lines in your dirt bike, start by locating the fuel lines.
The fuel lines are typically located near the fuel tank and carburetor.
Inspect the fuel lines for any signs of damage, such as cracks, leaks, or bulges.
If you see any damage, the fuel line may need to be replaced.
Next, check the fuel line connections to make sure they are tight and secure.
If the connections are loose, tighten them carefully to avoid damaging the fuel lines or the fittings.
Check the fuel line routing to make sure it’s not pinched or kinked, which can restrict fuel flow and cause starting problems.
If the fuel lines appear to be in good condition, check the fuel filter for any signs of dirt or clogging.
If the fuel filter is dirty or clogged, it may need to be replaced.
It’s important to maintain the fuel lines by checking them periodically and replacing them if they become damaged or worn, as fuel leaks or blockages can cause engine problems and reduce performance.
Check spark plug
To check the spark plug in your dirt bike, you will need to remove it from the engine.
First, locate the spark plug on your bike. It’s typically located near the engine cylinder head, and will have a wire attached to the top of it.
Use a spark plug socket and ratchet to carefully remove the spark plug from the engine.
Inspect the spark plug for signs of damage, such as cracks or chips on the porcelain insulator or electrode.
Also, check the gap between the electrodes, which should be set to the correct distance specified in your bike’s owner’s manual.
If the spark plug is dirty, use a wire brush or sandpaper to clean it.
Once you have inspected and cleaned the spark plug, reinstall it into the engine and reconnect the wire.
It’s a good idea to check the spark plug periodically to ensure that it’s in good condition, as a faulty spark plug can cause engine problems and prevent your bike from starting.
Check carburetor
To check the carburetor in your dirt bike, start by locating the carburetor.
It’s typically located near the engine and has a large air filter attached to it.
To check the carburetor, remove the air filter and inspect the carburetor for any signs of damage or dirt buildup.
If you see dirt buildup, use a carburetor cleaner and a rag to clean the carburetor.
Next, check the fuel lines for any signs of damage or leaks.
If the fuel lines are damaged or leaking, they may need to be replaced.
Check the carburetor adjustment screws to make sure they are set to the correct specifications, as specified in your bike’s owner’s manual.
If you suspect the carburetor is the cause of the starting problem, you may need to remove it and disassemble it for a more thorough cleaning.
This process may require special tools and knowledge, so it’s recommended to seek assistance from a qualified mechanic.
Wrapping up
Well, there you have it – the most common ways to fix a dirt bike that doesn’t want to start.
The best thing is that you can try them right in your garage with minimal tools.
Unfortunately, if none of these solutions work, it may be best to take your dirt bike to a mechanic for a more in-depth diagnosis and repair.


